A Guide to Creating a Resource Group and Virtual Machine Using Azure CLI


Table of contents


No headings in the article.
Azure Command Line Interface (CLI) as a cross-platform command-line tool to connect to Azure and execute administrative commands on Azure resources. It works on different operating systems, like Windows, macOS, and Linux.
With Azure CLI, you can swiftly connect to Azure and perform administrative tasks on your Azure resources. You can create any resources such as virtual machines and storage accounts. It offers flexibility and efficiency by allowing you to execute commands directly from your computer's command-line interface, without the need for a graphical user interface (GUI).
To engage with the Azure CLI, you will need to Download and install Azure CLI on your computer by following the instructions provided by Microsoft (https://learn.microsoft.com/en-us/cli/azure/).
Now that you've installed Azure CLI, open your Windows Powershell.
Login to Your Azure Account
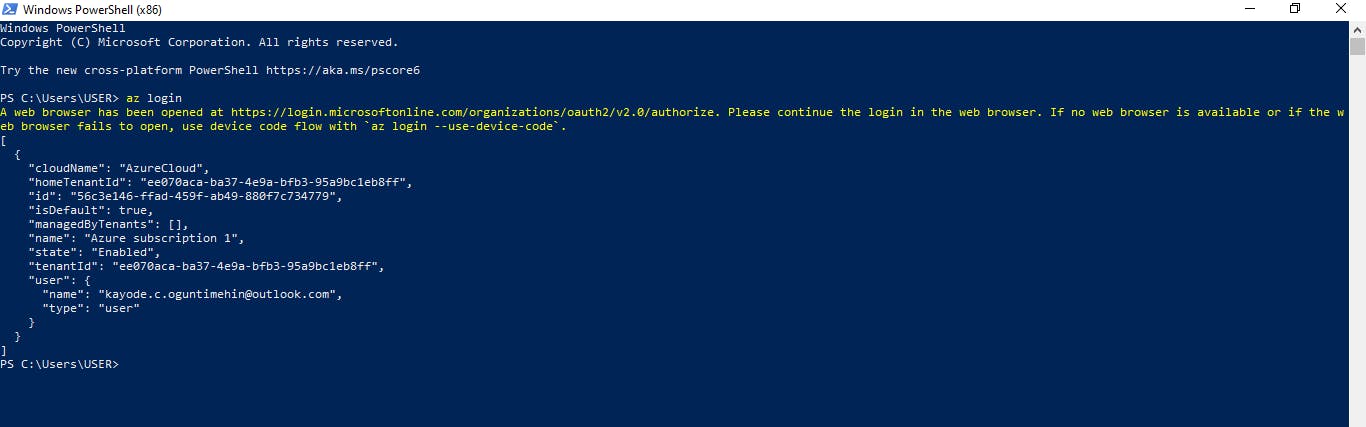
To login to your Azure account, type the command az login and press the Enter button on your desktop.

You will be redirected to a web browser to sign in to your account.
Click on your account
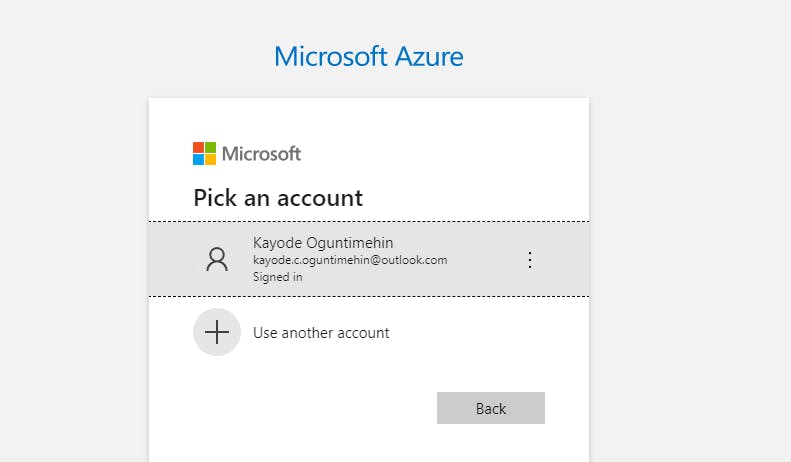
You will get the below notification, close the browser page and go back to the terminal.
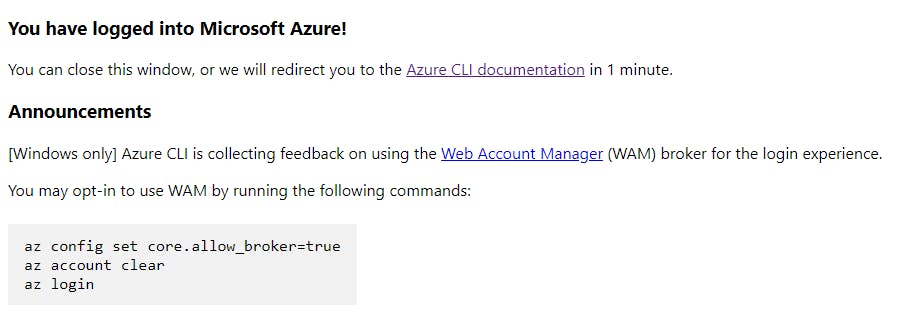
You are logged in. The command below shows your subscription and your account
Create Your Resource Group
The next step is to create your resource group that will accommodate your virtual machine and its dependents.
Input the command
az group create --name (name your resource) --location (input the location you want your resource to be).
Ensure to leave a space after each word.
Once you've inputted the command, Press enter.
Your resource group has been successfully created.
Create Your Virtual Machine
The next step is to create your virtual machine.
Input the command;
az vm create --resource-group (input your resource group name) --name (name your virtual machine) --image (the name of the image you wish to use) --admin-user (the admin name) --generate-ssh-key
Once you press enter, your virtual machine will start running as shown below.

When you go to your Azure portal, you can see the virtual machine created using Azure CLI.

I hope you can appreciate the ease of creating resources in Azure CLI.
Thank you.