Azure Storage Account: A Guide To Creating a Blob Storage

Azure Storage is a cloud-based storage solution provided by Microsoft Azure. One of the key components of Azure Storage is Blob Storage, which allows you to store and manage unstructured data such as text files, images, videos, and more. In this guide, we will walk you through the process of creating a Blob Storage account in Azure. Let's get started!
Prerequisites: Before we begin, you should have the following prerequisites in place:
An active Azure subscription: You will need an Azure account to create a Blob Storage account.
Azure Portal access: You should have access to the Azure Portal (portal.azure.com) to perform the necessary steps
Step 1: Create a Storage Account
Log in to the Azure Portal.
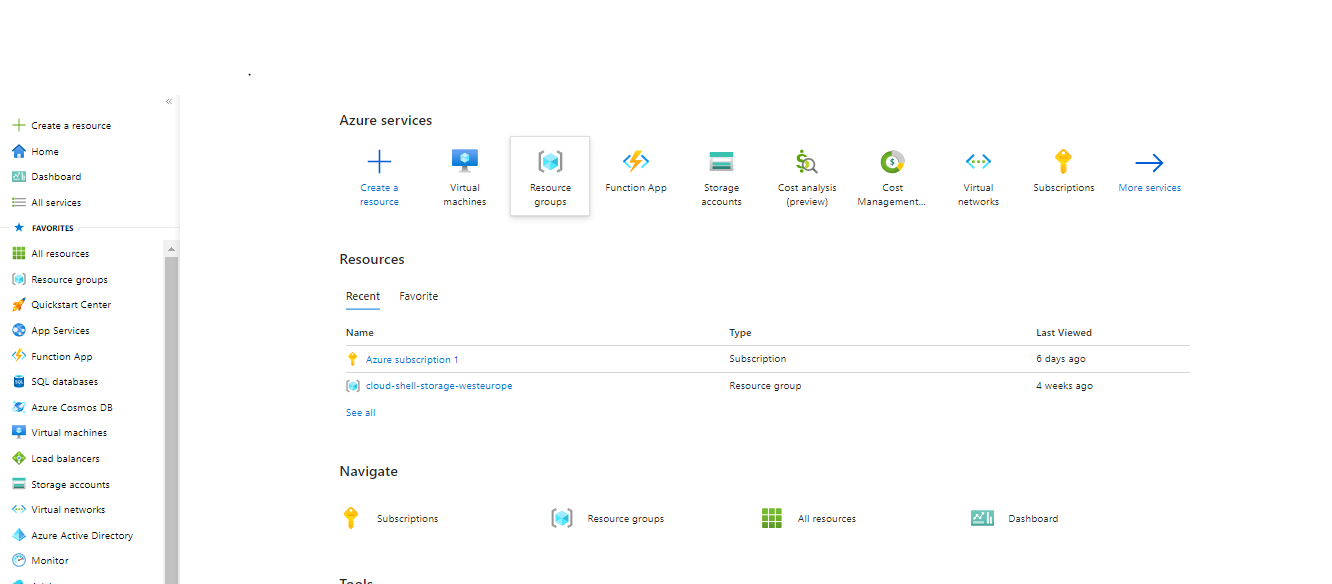
Click on the "Create a resource" button (+) on the upper left-hand corner.
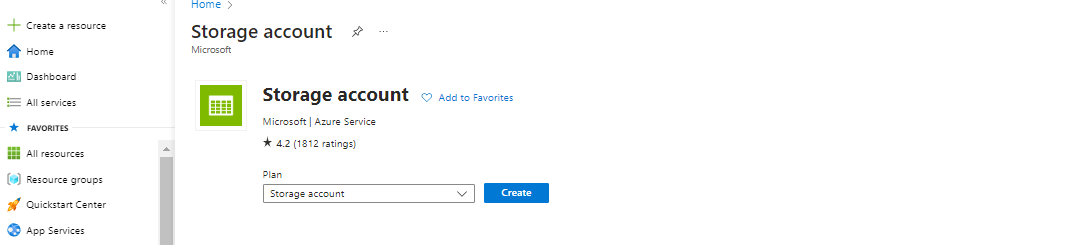
Search for "Storage Account" and select it from the results.
Click the "Create" button to start the creation process
Step 2: Configure the Storage Account
Provide a unique name for your storage account.
Select the subscription under which you want to create the storage account.
Choose a resource group or create a new one to logically organize your resources.
Select the desired location for your storage account. Choose a region closest to your users or applications.
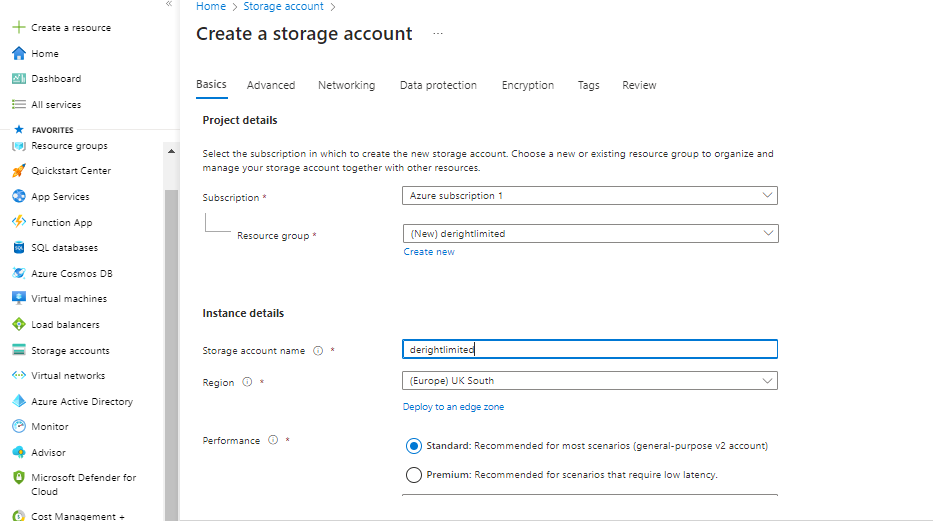
Specify the performance and redundancy options according to your requirements. For Blob Storage, you can choose the Standard performance tier.

Leave the other settings at their default values or configure them as needed.
Click the "Review + Create" button to validate your settings.
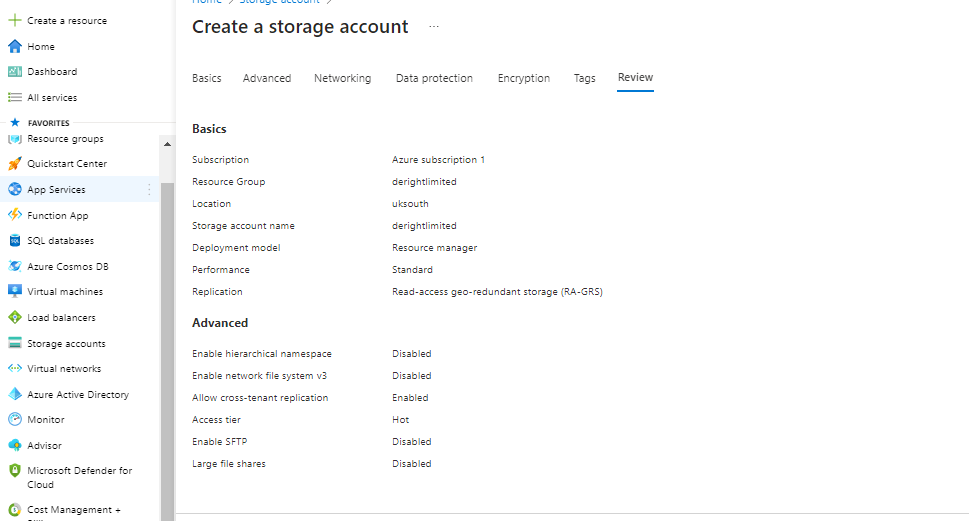
Step 3: Review and Create the Storage Account
Review the settings you provided in the previous steps.
Click the "Create" button to create the storage account. Azure will begin the provisioning process
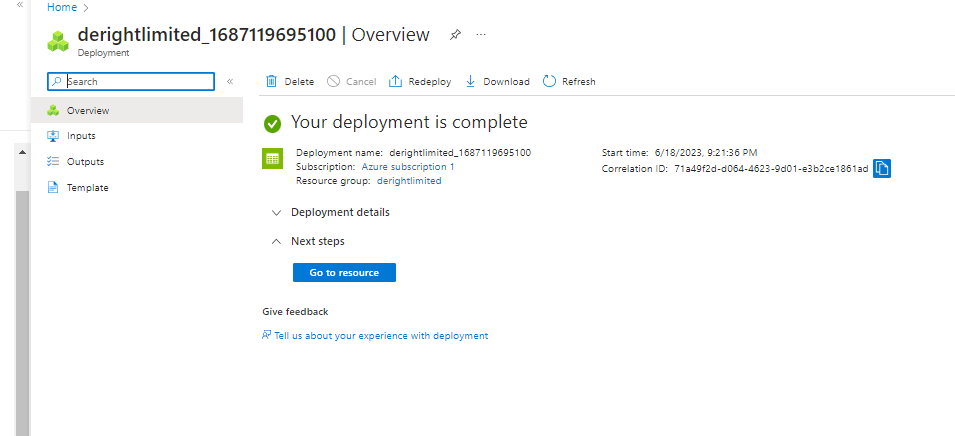
Step 4: Access the Storage Account
Once the storage account is successfully created, navigate to it by clicking on the "Go to resource" button.
In the storage account overview page, click on the "Blobs" service from the left-hand menu.
Click on the "+ Container" button to create a new container
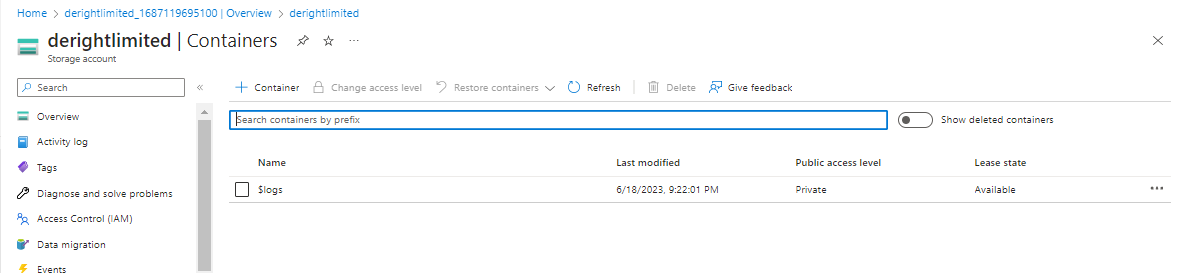
Step 5: Create a Blob Container
Provide a unique name for your container.
Choose the appropriate access type for the container: Public access (container-level) or Private access.
Configure the remaining settings according to your needs.
Click the "OK" button to create the container.
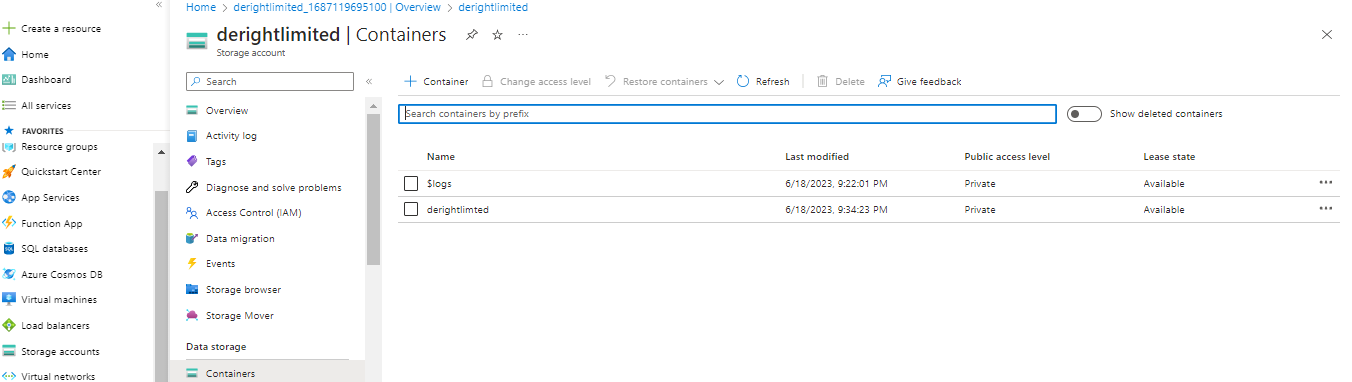
Congratulations! You have successfully created a Blob Storage account and a container within it. You can now start uploading and managing your blobs (files) within the container.
Conclusion: Azure Blob Storage provides a reliable and scalable solution for storing and managing unstructured data in the cloud. In this guide, we covered the steps to create a Blob Storage account and container within Azure. By following these steps, you can leverage Azure Blob Storage to meet your storage requirements for various applications and scenarios. Explore the additional features and functionalities to optimize your usage of Azure Storage. Happy blobbing!


