


Azure Blob Storage is a scalable and cost-effective cloud storage solution provided by Microsoft Azure. While it is primarily used for storing and managing large amounts of unstructured data, it can also be utilized to host static websites. In this tutorial, we will guide you through the process of hosting a static website in Azure Blob Storage, allowing you to publish your web content with ease. Let's get started!
Step 1: Create an Azure Storage Account To begin hosting your static website, you'll need an Azure Storage account. Follow these steps:
Log in to the Azure portal (portal.azure.com) using your credentials.
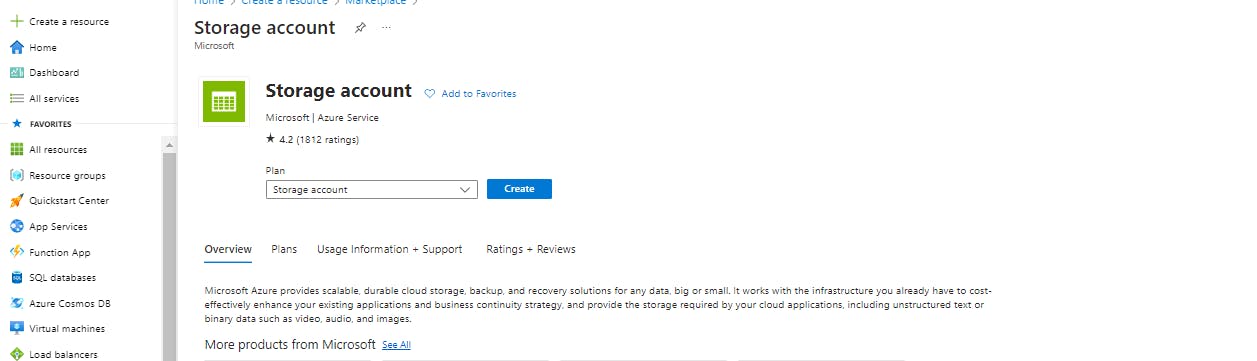
Click on "Create a resource" and search for "Storage account" in the marketplace.
Select "Storage account" and click on "Create" to start the creation process.
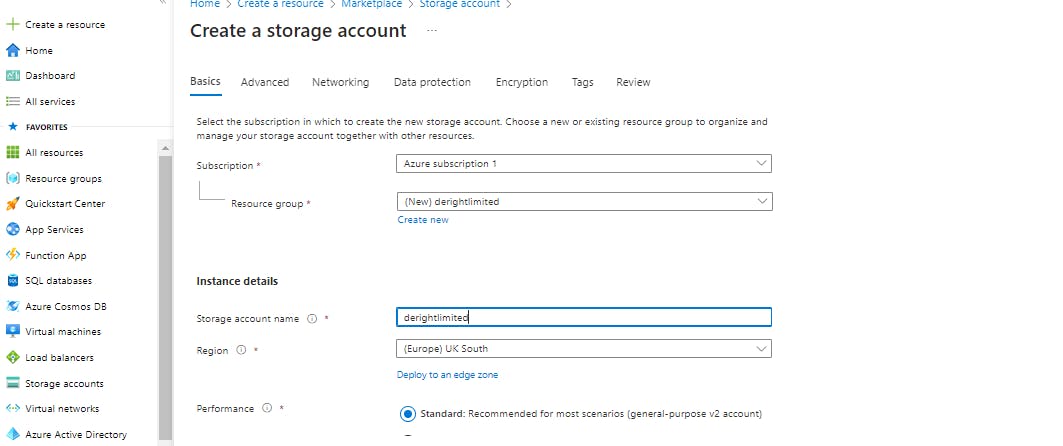
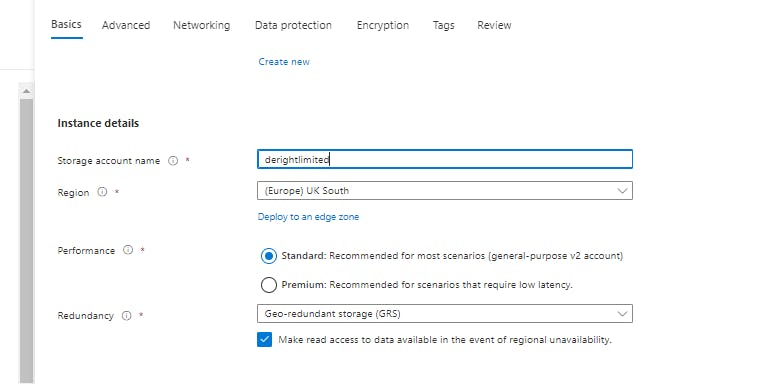
Provide the necessary details like subscription, resource group, storage account name, location, and performance options.
Enable the "Static website" option in the "Advanced" tab and provide the index document name (e.g., "index.html") and error document path if needed.
Click on "Review + Create" and then "Create" to create the storage account.
Step 2: Upload Your Website Content Once the storage account is created, you can upload your static website content. Here's how:
Open your newly created storage account in the Azure portal.
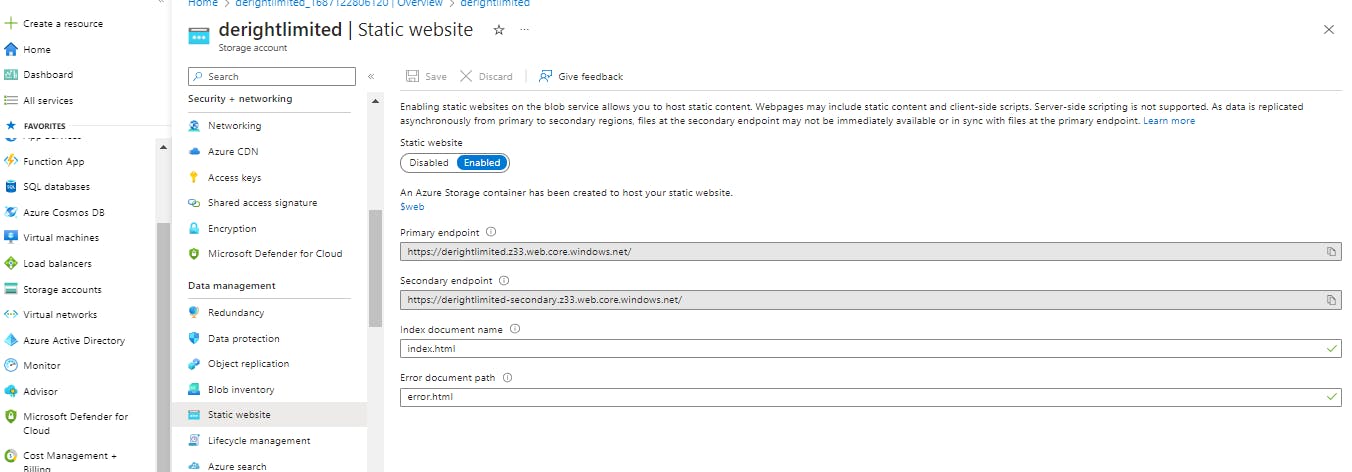
Navigate to the "Static website" section.
In the "Static website" blade, note down the "Primary endpoint" URL. This is where your website will be hosted.
Click on the "Container" link, and then click on the "+ Container" button to create a new container.
Provide a unique name for the container and set the "Public access level" to "Blob (anonymous read access for blobs only)."
Click on the container you just created and choose the "Upload" button to upload your website files. Ensure you include the main HTML file (e.g., "index.html") and any other necessary files or folders.
Wait for the upload to complete.
Step 3: Configure Website Properties To ensure your website functions correctly, you need to configure some properties. Follow these steps:
In your storage account, navigate back to the "Static website" section.
Under "Static website," set the "Index document name" and "Error document path" if you haven't done so already.
Click on "Save."
Step 4: Verify and Access Your Website Now that your static website is uploaded and configured, it's time to verify and access it. Here's what you need to do:
Open a web browser and enter the "Primary endpoint" URL noted earlier (e.g., "yourstorageaccount.z6.web.core.windows.net").
Your website should now be accessible through the provided URL. Verify that the content is displayed correctly and that navigation between pages, if any, is working as expected.
Conclusion: Congratulations! You have successfully hosted your static website using Azure Blob Storage. By following these simple steps, you can quickly publish and share your website content with the world. Azure Blob Storage provides a reliable and scalable solution, ensuring your website is available to visitors at all times. Experiment further with Azure features to enhance your static website hosting experience. Happy hosting!